From Icon Set to Embroidered Gift: A Practical Review
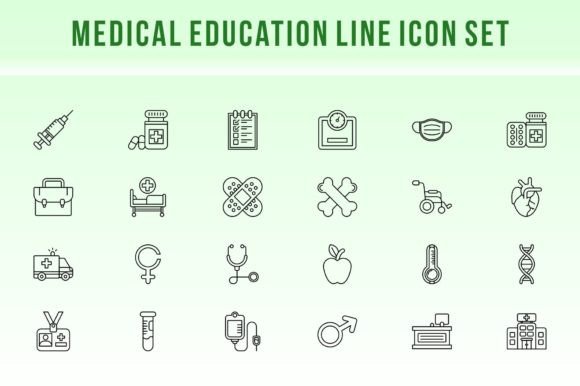
When I first opened the Medical Education Line Icon Set, my immediate thought wasn’t about the download. It was about a client request sitting in my inbox. A local college professor wanted a custom tote bag as a gift for her retiring mentor—something clean, intelligent, and recognizably tied to the medical field. This icon set appeared on my radar just as I was sketching ideas. My review here comes from that practical lens: how does this collection of graphics translate into actual thread, fabric, and finished products?
The First Impression: Clean Lines and Clinical Clarity
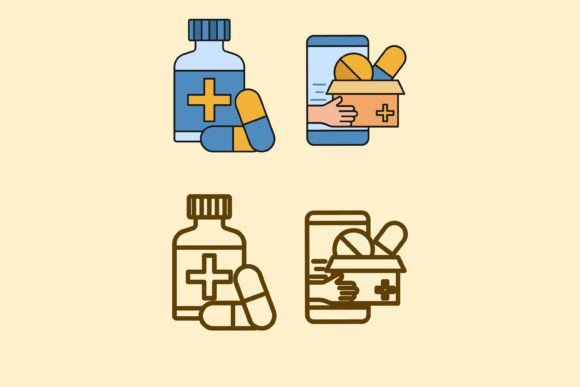
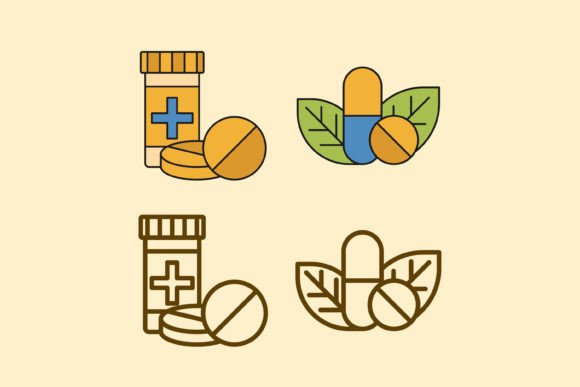
The mood here is distinctly professional and precise. The line-based style creates a feeling of clarity and authority, which is perfect for projects aimed at educators, students, or medical professionals. Unlike more illustrative or cartoonish medical graphics, this set’s personality leans into clean, scalable shapes. For embroidery, this is a strong starting point. Detailed, fussy icons can become muddled when stitched, but the simplicity of a line icon suggests good potential for stitching clarity on things like a sweatshirt pocket or a crisp apron.
Where These Icons Naturally Belong in Embroidery
This isn’t a set for overly decorative, whimsical projects. Its home is on items where the message needs to be clear and respected. I pictured it immediately on a few real-world items:
- A custom embroidered patch for a student’s lab coat or scrubs bag.
- A single, well-placed icon on a high-quality pillow cover for a nurse’s relaxation space.
- A subtle row of icons along the hem of a tea towel in a doctor’s kitchen.
- The central motif on a tote bag for carrying textbooks or medical supplies.
- A small, thoughtful accent on a baby blanket for a family deeply rooted in the healthcare world.
The scalability mentioned in the description is key. Being able to adjust size without quality loss means I can make a bold statement on a large sweatshirt back or a delicate, tiny accent on a cap without re-drawing the artwork. That’s a significant time-saver for a craft business.
Performance in Real-Life Stitching Situations
Moving from the screen to the hoop is where theory meets reality. For a small business owner or an Etsy seller, the visual appeal on a mockup is only half the story. How does it stitch out?
The “pixel perfect” and vector nature suggests clean edges, which is excellent for embroidery file conversion. In my experience, clean vector art typically converts to cleaner stitch paths, leading to less thread breaks and better registration on the final product. This builds customer trust—a neatly embroidered item looks professional and increases the perceived value of your handmade product.
Consider a holiday gift like an embroidered kitchen towel set for a surgeon. Using a simple icon from this set, like a scalpel or a heart, rendered in a single thread color with a running stitch outline could look incredibly chic and thoughtful. The giftability hinges on that crisp execution.
For commercial embroidery projects, such as branding for a small clinic’s staff uniforms or boutique merchandise for a medical conference, this set offers a cohesive visual library. Consistency across different items—caps, polo shirts, tote bags—would be easy to achieve, strengthening brand recognition.
Caution Areas: Where to Test Carefully
No design is universally perfect. The line-based style, while clean, requires careful consideration in certain applications.
- Small Hoop Sizes: If you reduce an icon to a very small size for a delicate baby item or a ring on a hat, the fine lines might need to be simplified or thickened slightly in your embroidery software to ensure they stitch properly and don’t vanish.
- Textured or Stretch Fabrics: On fabrics like a fleece blanket or a stretchy t-shirt, fine lines can get lost in the texture or distort. A good stabilizer is non-negotiable here.
- Dark Fabric Backgrounds: The icons might rely on negative space. On dark fabrics, you’ll need to choose thread colors that pop and potentially consider a slightly denser fill stitch for the icon shapes themselves to ensure they’re clearly visible.
- Detailed Corners and Tiny Elements: Some medical icons have intricate corners (think microscope details). Before running a full production batch for your craft fair products, always test on scrap fabric first to see if your machine and chosen thread handle those details well.
Practical Notes for the Embroidery Designer
Before you commit this Medical Education Line Icon Set to a client’s order or a batch of products for your shop, here’s my workflow advice.
- Test, Test, Test. Stitch a sample icon on the actual fabric you plan to use—whether it’s a tote bag canvas, a sweatshirt fleece, or a baby bib cotton.
- Check Contrast. View the design in black and white mockups. Does it hold its form? This helps plan thread color choices for both light and dark backgrounds.
- Review Density. When you convert the vector to an embroidery file, pay attention to the stitch density suggested by your software. For line work, a satin stitch might be used for thicker lines, while running stitch might suit finer ones. Adjust to prevent puckering on thin fabrics.
- Consider the End-Use. For items needing frequent washing, like aprons or kitchen towels, ensure your stitch structure is robust enough to withstand it.
- Confirm Licensing. The description highlights it as editable and scalable, but always verify the license terms before selling finished items or using the icons as part of digital embroidery files you sell. This protects your craft business.
The Final Stitch: Value Beyond the Download
Ultimately, the value of an icon set like this isn’t in the number of files. It’s in the finished product it enables you to create. For the creative entrepreneur, it provides a professional, thematic asset that can elevate a simple custom apparel item into a meaningful personalized gift. It can turn a basic tote bag into a specialized product for a niche market. For me, considering that professor’s gift, this set offers the clean, respectful visual language needed for the project. It feels like a tool, not just a graphic. With careful testing and adaptation to the embroidery process, it has the potential to stitch out with the same clarity and purpose it displays on screen, making your client—or your customer—recognize the care and professionalism woven right into the fabric.